
SQL Server 2019 Installation on Windows 2019
In this guide, we’ll walk you through the necessary steps to successfully install SQL Server 2019, ensuring optimal performance and security on your Windows Server environment.
Select EXE download as 64-bit edition.
After Download click on .exe file.
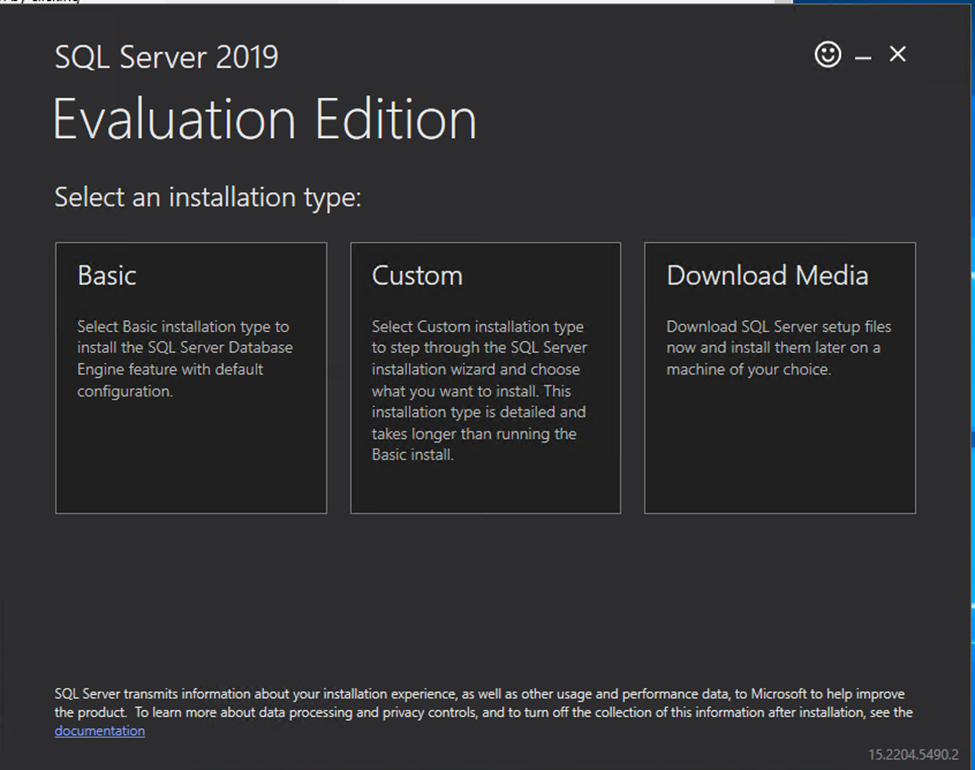
Click on Download Media.

Browse and select where you download ISO file and Exit page.
Go to Download folder and click on iso link and then click on setup file

Click on Installation
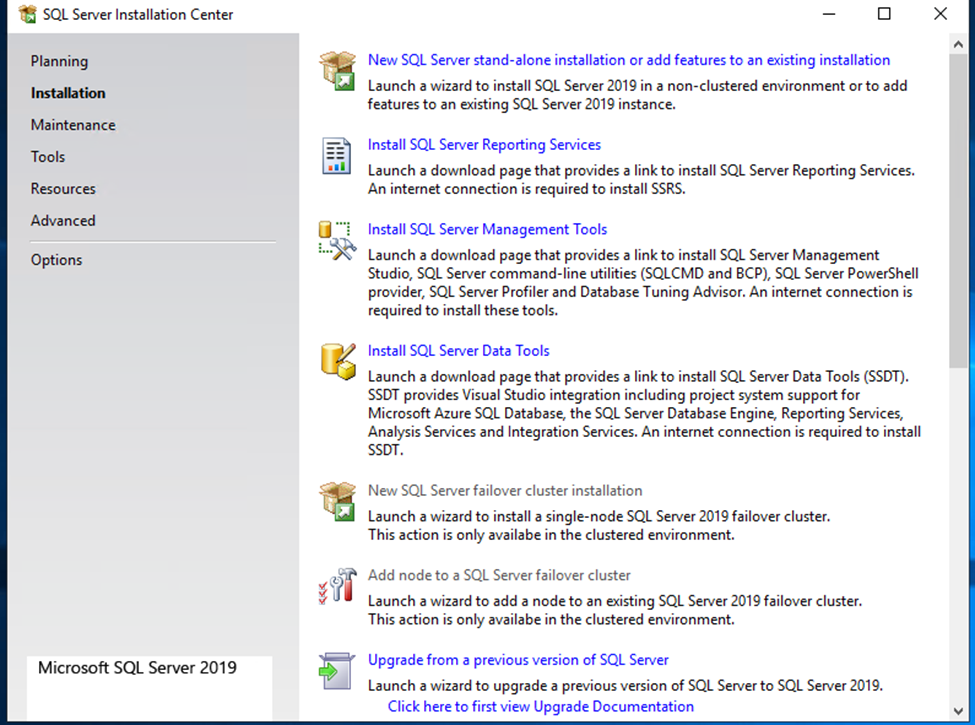
Click on New sql server ……..(First Line)

Click Next

Click on tick accept Box and Click on Next.

Don’t Tick on Box for Microsoft update and click on next.
Show install setup files and wait


Click on Next

Click on Select All Button and Next

Click on next

Click on next

Click on next

Click on next

Select second option as Mixed Mode and Set server authentication (sa) password and click on Add Current User and click on next.
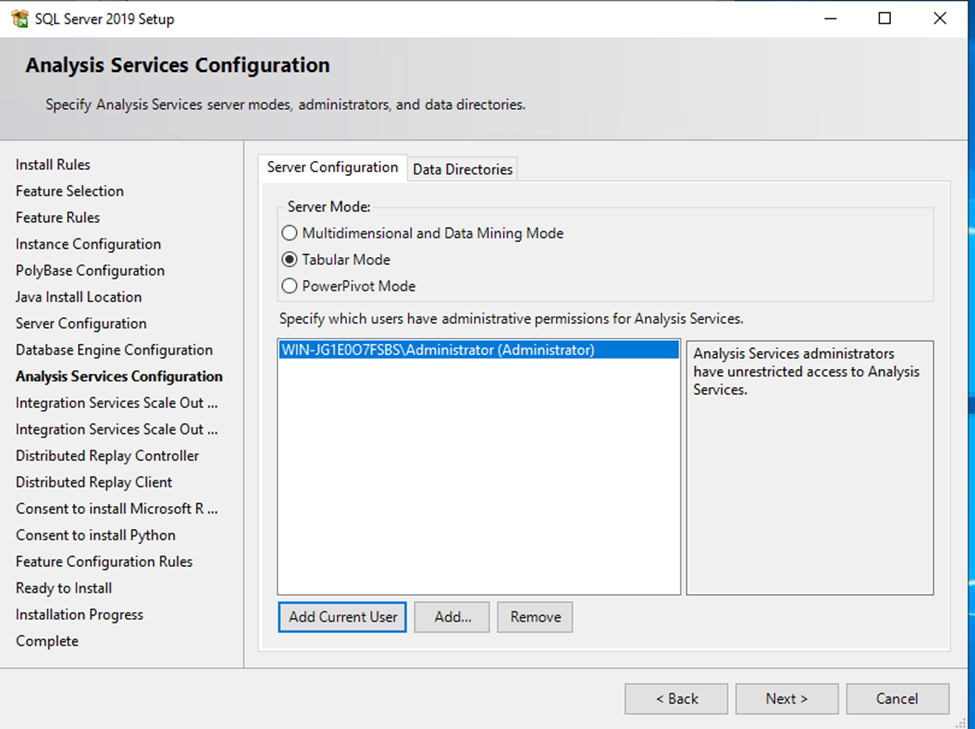
Click on Add current User and click on Next

Click on Next

Click on Next.
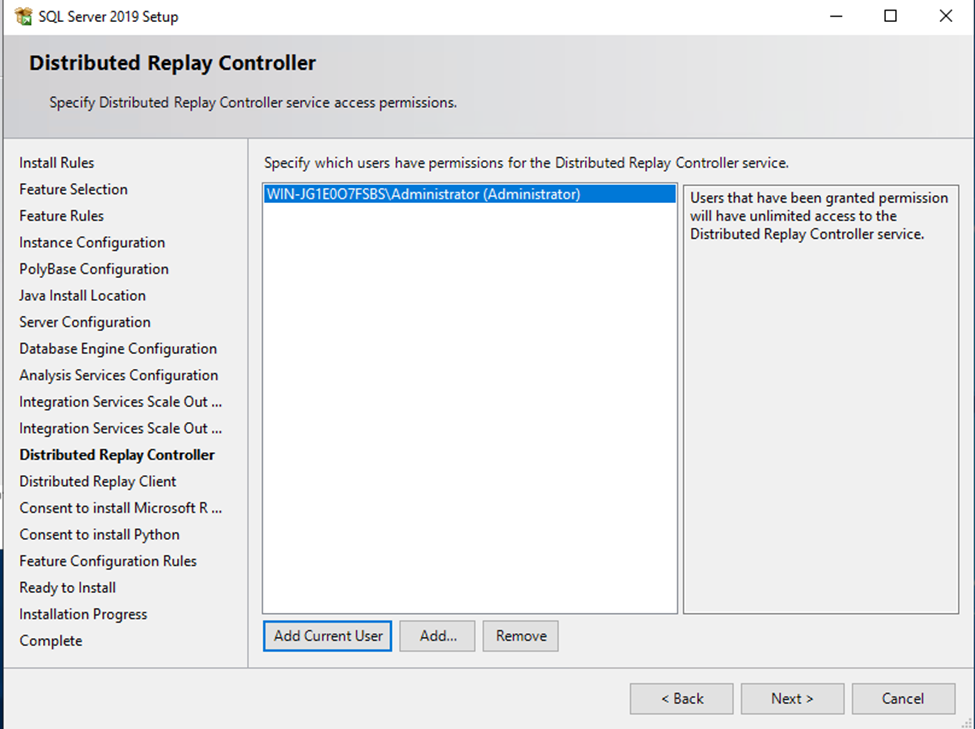
Click on Add current User and Next

Click on Next

Click on Accept and Next

Click on Accept and Next

Select each Line and paste it on new Tab on Browser and Download One by One . And Clink on Browse and select download folde path.
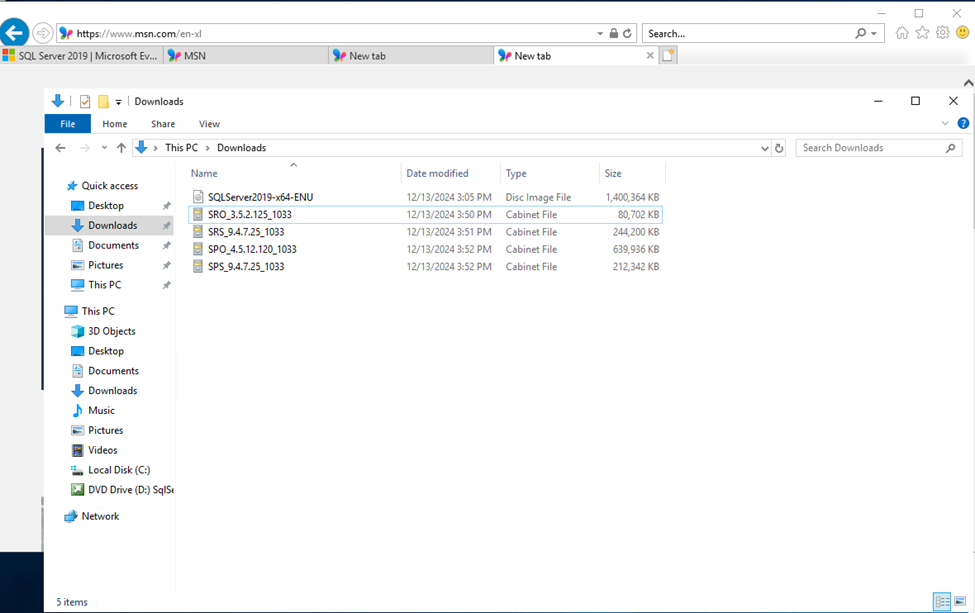

Click On Next

Click On Next

Click on Install.

Show Installation Process, Wait for some time
Installation Successful and Close It

Click On SSSM-setup-ENU.

Click on Install
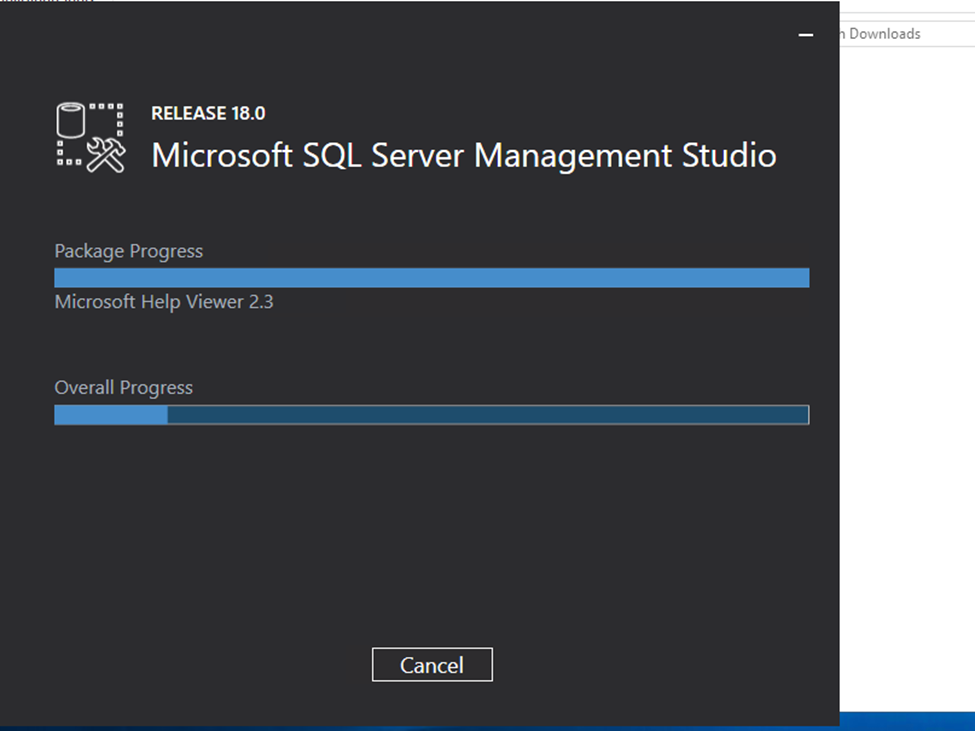
Wait for Some Time
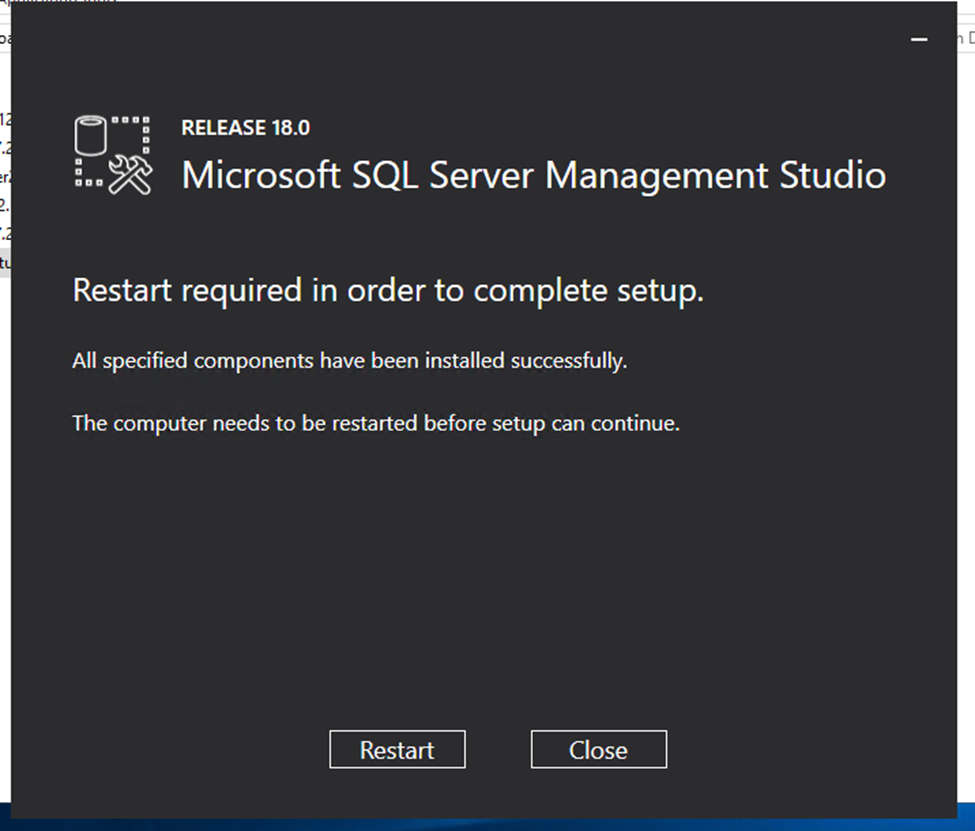
Click on Restart .
Click On Start Menu and click


Select Authentication Type as a SQL Server Authontication and Tpe As
Login : sa
Password : ***********
Click on Connect

Finally Show SQL


