Your Essential Guide to WordPress Staging Environments
A WordPress staging environment is a private clone of your site where you can test updates, plugins, and design changes without risking downtime. This guide explains how staging works and compares options like Softaculous, BoldGrid, and plugins. You’ll learn lifecycle best practices for syncing, testing, backups, and cleanup, plus some potential issues to avoid.
Managing a WordPress site involves constant change. Updates to plugins, new design elements, or even security patches can disrupt a live website if applied without preparation. This risk is why staging environments exist.
A staging site acts as a private copy of your website where you can safely test and develop your website, without the risk of customers seeing an unfinished website.
In this guide, we’ll take a detailed look at staging environments. You’ll learn what they are, why they matter, how to manage a staging site throughout its lifecycle, and the most valuable use cases for site owners. We’ll also highlight common mistakes to avoid so your staging workflow remains smooth and reliable.
What Is a WordPress Staging Environment?
A staging environment is essentially a replica of your live WordPress site. It contains the same code, plugins, themes, and sometimes even the same content. The difference is that it is not public-facing. Only you or your team can access it.
By working in a staging site, you can apply updates and test new tools without disrupting your live audience. When you’re satisfied with the results, you merge those changes into your existing (live) site. This approach drastically reduces the chances of downtime and broken features, or lost sales caused by mistakes or incompatibilities.
How Staging Sites Work
At its core, a staging site is a clone of your live WordPress installation. It uses the same codebase, the same plugins, and often a copy of the same database. What makes it different is that the staging site is kept in a separate location, so visitors can’t access it by default. This separation allows you to make changes and test updates without disrupting your production environment.
Creating the Site
When you create a staging site, the system duplicates your site’s files and copies your database into a new environment. Tools like the Softaculous Staging Tool or BoldGrid automate this process so you don’t have to copy files or export/import databases manually.
Linking to Hosting
The staging site is then linked to your hosting account but hidden from public access. In most cases, staging sites are automatically configured with password protection and settings to discourage trawling by bots and search engines, which means they can’t be found through a search or easily hacked.
Editing Staging
Once the staging copy exists, you can log in just as you would on your live site. From there, you can apply WordPress updates, install new plugins, edit code, or even redesign the theme. Because the staging site runs in the same hosting environment as your live site, the performance and behavior you see in staging closely mirror what you’ll experience in production. This gives you confidence that your changes will function the same way once deployed.
Deployment
The final step is deployment, also called “pushing to live.” This process syncs changes from the staging site back into your production site. Depending on the tool, you may be able to choose whether to copy just the files, just the database, or both. More advanced tools also let you perform selective merges: for example, updating theme files while leaving new live content untouched. This flexibility is what makes staging so powerful: it creates a safe middle layer between development and production that ensures your site stays reliable while you innovate.
How a Staging Site Works
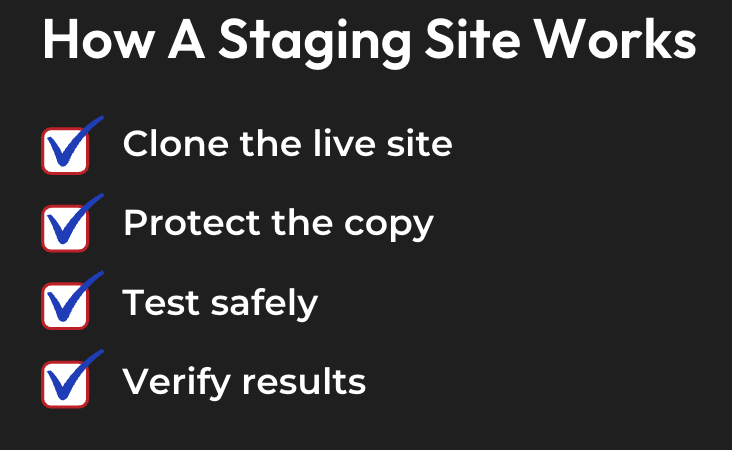
- Cloning the site: Your live WordPress files and database are duplicated into a separate staging environment, often a subdomain or subdirectory.
- Protecting the copy: The staging site is automatically blocked from search engines and usually password-protected, so only your team can access it.
- Testing safely: You log in and apply updates, new plugins, design changes, or custom code without risk of affecting your live visitors.
- Verifying results: Because the staging site runs on the same hosting infrastructure as your live site, performance, layout, and functionality tests are accurate.
- Pushing to live: Once changes are approved, you merge them back into production, either fully or selectively (files, database, or both).
- Maintaining consistency: New live content can also be pulled back into staging, ensuring your test environment remains current.
Why Staging Matters
Running updates directly on a live site is like repairing a car while driving it on the highway. Even small changes can have unexpected results, and without a backup or safe testing space, recovery can be slow. A staging site offers a safe buffer between development and production.
This matters for anyone running a WordPress site. Whether the site is a blog, an online store, or a business website, visitors expect consistent availability and performance. Staging ensures you can deliver new features or improvements without risking a site crash or breaking an “add to cart” button.
Staging Options Available
Different site owners have different needs, and hosting services will need staging options to match. For instance, at InMotion Hosting, you can choose from built-in tools, plugins, or even manual workflows depending on your comfort level and goals.
Softaculous Staging Tool
The Softaculous Staging Tool is integrated into cPanel and offers a straightforward way to clone your WordPress site into a staging environment. You select the WordPress installation, choose a directory for staging, and Softaculous automatically creates a copy.
This copy includes your site’s files and database, giving you a safe testing ground. When you finish testing, you can “push to live” to merge changes. Because Softaculous is built into InMotion Hosting’s environment, the staging copy reflects live performance on NVMe-powered servers. This means your tests for speed and reliability are accurate, not theoretical.
BoldGrid Staging
For WordPress users who install BoldGrid, staging is part of the workflow. BoldGrid provides an easy way to clone entire sites or just specific pages into staging. It’s beneficial when redesigning a site because you can build the new layout in staging while your old site continues to function normally.
Once the new design is ready, BoldGrid lets you seamlessly publish it to production. For non-technical users, this method avoids the complexity of database syncing or manual transfers.
WordPress Staging Plugins
If you prefer a plugin-based approach, there are several staging plugins supported on hosting platforms (including ours):
- WP Staging: Creates a quick clone of your site for testing. Ideal for smaller sites and straightforward workflows.
- Duplicator: Useful for staging and migration. It allows you to package your site into a portable file, which you can deploy on staging or another server.
- All-in-One WP Migration: Offers flexible import/export features, which can be used to create a staging copy on demand.
These plugins are particularly helpful when you want staging on plans without built-in one-click tools, or if you prefer managing the process directly inside WordPress.
Manual and Local Staging
For developers or those who want full control, staging can also be set up manually. This involves creating a subdomain, copying files and the database, and configuring WordPress to point to the staging environment.
While these approaches require more effort, they provide complete customization. They are often used when developers need a custom workflow or want to integrate staging into a broader DevOps pipeline.
Managing the Staging Lifecycle
Creating a staging site is only the beginning. To make staging effective, you need to manage it throughout its lifecycle. Each stage plays a role in ensuring your site remains stable and improvements roll out smoothly.
Creating and Syncing
The first step is creation. Whether through Softaculous, BoldGrid, or a plugin, you generate a copy of your live site. To keep testing relevant, the staging copy should mirror the current state of the live site. That means syncing content and configurations regularly.
Syncing isn’t one-directional. Sometimes you’ll push staging changes live. Other times, you’ll need to pull new content or updates from live into staging before testing again. Having tools that support both push and pull operations creates consistency.
Testing and Verification
Once a staging copy is updated, you can begin testing. This includes applying updates, adding plugins, or changing themes. The goal is to identify potential conflicts before they reach production. You can also use this phase to verify performance metrics such as load speed and resource usage.
Testing in staging is not limited to functional checks. It should include user experience testing, responsiveness on different devices, and integration with third-party services like payment gateways or analytics tools.
Deployment to Live
When staging changes are approved, the next step is deployment. This process should be deliberate and controlled. Instead of overwriting everything blindly, you may choose to push only certain files or specific database tables. This prevents overwriting content added by users while staging work is underway.
Deployment should always be paired with backups. Even though staging reduces risks, unexpected issues can still arise. Having a recent backup ensures you can roll back if needed.
Troubleshooting and Recovery
Occasionally, problems occur during staging merges. Your hosting provider should have documentation on fixing staging issues after cPanel merges or plugin conflicts. Knowing that resources and real human support are available gives site owners confidence to resolve problems quickly.
Troubleshooting is part of the lifecycle because staging isn’t foolproof. What matters is having a clear process for correcting issues without extended downtime.
Cleaning and Archiving
Finally, once changes are deployed, old staging sites should be cleaned up. Leaving unused staging copies creates unnecessary clutter and potential security risks. Some site owners also archive staging versions as historical checkpoints. This practice allows you to revisit older builds if necessary.
Managing staging as a lifecycle ensures it remains an active part of your workflow, not just a one-time tool.
Valuable Uses for WordPress Staging Environments
Staging environments serve more purposes than simple plugin testing. They are versatile tools that can support different aspects of site management and growth.
Staging for Development Changes
When developers introduce new features or custom code, staging is the safest place to test. Adding new templates, integrating APIs, or creating custom functionality can have far-reaching effects on a WordPress site. A staging environment isolates these changes from production until they are stable.
Developers also benefit from staging by working collaboratively. Multiple team members can contribute changes, test them together, and finalize features before deployment. This avoids the scenario of conflicting code being tested live in front of visitors.
Staging for Feature Testing
New plugins or major updates often bring both improvements and risks. Staging allows you to test compatibility with your existing setup. For example, a new SEO plugin may improve metadata handling but conflict with caching rules. In staging, you can identify these problems early.
Feature testing is not just about avoiding errors. It’s also about confirming that new tools deliver value. By experimenting with staging, you can assess usability and outcomes before committing them to your live site.
Staging for Performance and Speed
Performance is one of the most important aspects of a WordPress site. A slow site hurts both SEO rankings and visitor satisfaction. Staging provides a space to test performance optimizations before deployment.
You can experiment with caching settings, CDN configurations, or image compression strategies in staging. By monitoring load times and resource usage, you can confirm that your changes produce real gains. For instance, we use NVMe infrastructure, so staging reflects live performance accurately, and results are trustworthy.
Staging for Troubleshooting and Recovery
When problems occur on a live site, staging becomes a controlled environment for diagnosis. Instead of deactivating plugins or switching themes in production, you can replicate the issue in staging and test fixes there.
This approach prevents disruption to your audience while giving you the flexibility to experiment. Once the root cause is identified, you can apply the solution confidently to the live site.
Staging for Redesigns and Rebrands
Major visual changes are some of the riskiest updates for a WordPress site. A redesign can involve new themes, layout shifts, and custom CSS. Testing these in staging ensures design elements display correctly across devices and browsers.
For businesses undergoing a rebrand, staging also allows for phased rollouts. You can prepare a new look behind the scenes, get stakeholder approval, and launch it all at once without exposing half-finished work to visitors.
Best Practices for SEO, Security, and Reliability
While staging sites protect your live environment, they require their own safeguards to remain effective. Search engines should never index staging sites, because duplicate versions of your content can damage SEO rankings and confuse search crawlers. InMotion Hosting automatically sets staging environments to “noindex,” ensuring they stay invisible to Google and other search engines. In addition, enabling password protection adds another barrier, restricting access only to team members who need it.
Security
Security is just as important in staging as it is in production. Outdated plugins, vulnerable themes, or neglected WordPress core files can become entry points for attackers, even if the site is private. Since staging environments mirror production, they must follow the same update and patch routines. Treat staging as a live site when it comes to maintenance.
Backups
Backups remain an essential safety net throughout the staging lifecycle. Even though staging reduces risk, there’s always a chance that a deployment could overwrite important data or introduce errors. Having a fresh backup of both your staging and live environments ensures you can recover quickly if something goes wrong. Backups also give you the flexibility to test aggressively in staging, knowing you can roll back at any time.
Replicating Production Site
Another best practice is to align your staging environment with the exact infrastructure of your production site. For example, if your live site uses caching, CDN integrations, or advanced PHP versions, your staging copy should mirror those settings. This guarantees that the results of your testing are accurate and transferable. By treating staging as a true replica, you gain reliable insight into how changes will perform when they go live.
Staging Site Issues To Watch For
Staging sites are powerful tools, but they can lose effectiveness if managed carelessly. Many site owners make mistakes that weaken the safety net that staging is supposed to provide. Being aware of these pitfalls helps you avoid unnecessary problems.
Forgetting To Push It Live
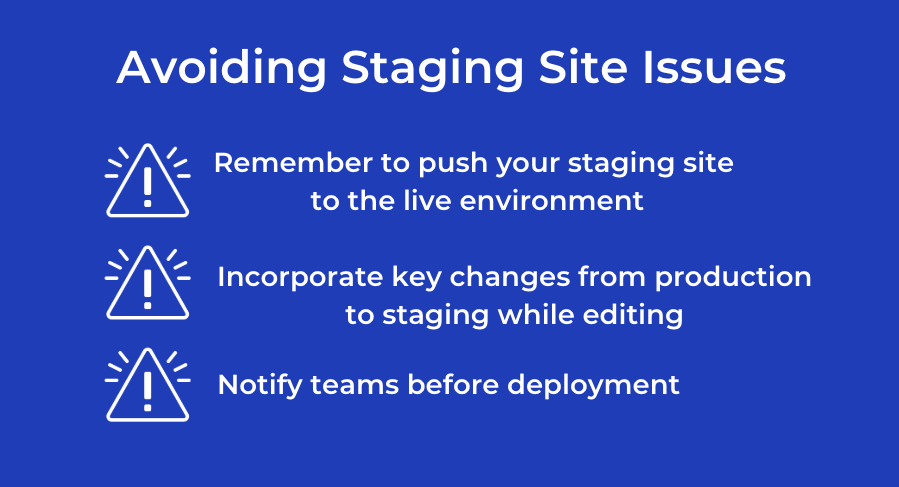
One of the most common mistakes is forgetting to push changes from staging to live. It’s easy to make improvements in staging and assume they’re live, only to realize later that the production site hasn’t been updated. Establishing a clear workflow for deployment prevents this oversight. Another frequent issue is leaving staging sites accessible to the public. When staging environments aren’t protected with passwords or indexing restrictions, they can cause duplicate content problems in search results and expose unfinished work to visitors.
Testing on Outdated Copies
Ensure there is as little lapse as possible between creating the staging site, making the desired changes, and pushing your staging site to the production/live environment. Any changes made to the live site after the staging site is created will not be reflected on the staging site.
Pushing Live Without Notifying Teams
You’ll also find that your content team isn’t too happy if you push a staging site live while they’ve been making updates to production. When this happens, all the work completed in the interim is lost. Even if you did make a recent copy of production, always make sure that you have notified the entire team that you’re ready to push staging live, as it will save you some difficult conversations later.
Quick List
- Forgetting to push staging changes to live, leaving improvements unpublished.
- Allowing staging sites to remain publicly accessible causes SEO duplication and security risks.
- Remember that any and all changes from the live site will not be present on staging and will need to be added before going live.
- Skipping regular updates for plugins, themes, and core files in staging.
- Deploying without a fresh backup of both staging and production environments.
- Overwriting live data unintentionally by syncing the wrong direction (pushing when you meant to pull).
By recognizing these pitfalls and addressing them with consistent workflows, you can maintain staging environments that are safe, reliable, and genuinely useful for your site’s growth.
Conclusion: Why Staging is Essential
A WordPress staging environment is more than a technical convenience. It is a safeguard for uptime, a testing ground for new ideas, and a performance lab for optimization. By using staging environments consistently, you can innovate with confidence and protect your live site from disruptions.
InMotion Hosting makes staging practical and flexible. With integrations like the Softaculous Staging Tool, BoldGrid integration, plugin workflows, and detailed support documentation, you can choose the method that fits your needs. NVMe infrastructure ensures performance testing is accurate, and real human support is available whenever questions arise.
For site owners who want to grow without fear, staging is very important. It can seem like a lot, but don’t be nervous. With the right hosting partner, staging becomes a natural part of your workflow, empowering you to test, improve, and deploy with confidence.


